Candle making is an ancient art that not only provides practical illumination but also allows for creative expression. Crafting your own candles adds a personal touch to your living space, making it uniquely yours. In this guide, we’ll explore a distinctive approach to candle making, incorporating unconventional materials and techniques to ignite your creativity.
Materials Needed:
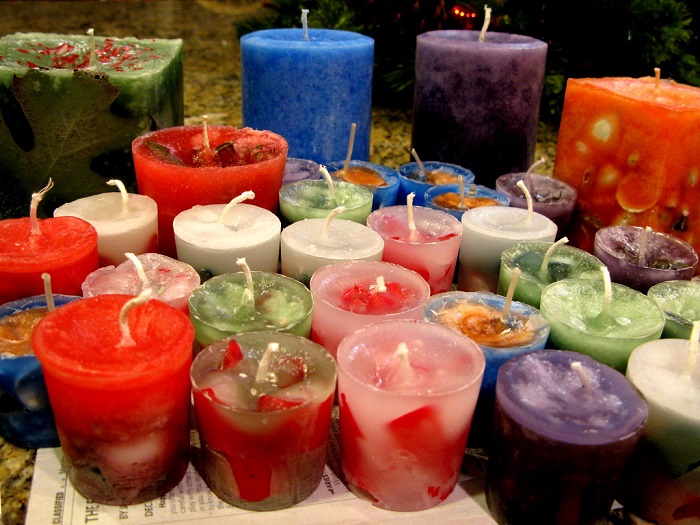
- Wax Base: Choose from traditional paraffin, soy, or beeswax, or experiment with a blend for a unique texture and fragrance.
- Wick: Opt for a natural cotton or wood wick for an added touch of eco-friendliness.
- Fragrance Oils: Explore unconventional scents like lemongrass, sandalwood, or even coffee for an aromatic twist.
- Colorants: Ditch traditional candle dyes and experiment with natural alternatives like beet juice, turmeric, or spirulina for vibrant hues.
- Molds: Instead of typical candle molds, consider using vintage teacups, seashells, or silicone ice cube trays for distinctive shapes.
- Decorative Elements: Incorporate dried flowers, herbs, or spices into your candles for a visually appealing and fragrant touch.
- Double Boiler or Microwave-Safe Container: Essential for melting your chosen wax.
- Stirring Utensil: Use a bamboo stick or an old spoon dedicated to crafting.
- Thermometer: To monitor the wax temperature.
Step 1: Prepare Your Workstation
- Lay out all your materials and ensure you have a clean, clutter-free workspace.
- Place your chosen molds on a flat surface and secure the wicks in the center.
Step 2: Melt the Wax
- Using a double boiler or a microwave-safe container, melt the wax to the desired temperature, typically around 170-180°F (77-82°C).
- Stir the wax occasionally for an even consistency.
Step 3: Add Fragrance and Color
- Once the wax is melted, add a few drops of your chosen fragrance oil and natural colorants. Experiment with combinations to achieve your desired scent and hue.
Step 4: Pour the Wax
- Carefully pour the colored and scented wax into your unconventional molds, ensuring the wick remains centered.
- If using decorative elements, sprinkle them into the wax before it solidifies.
Step 5: Allow to Cool
- Let your candles cool and solidify completely. This may take a few hours.
Step 6: Unmold and Trim
- Once the candles are fully set, gently remove them from the molds.
- Trim the wick to the desired length, leaving about 1/4 inch above the surface.
Congratulations, you’ve just crafted uniquely artisanal candles that not only illuminate but also tell a story. Whether you chose vintage teacups, seashells, or other unconventional molds, your candles are now a reflection of your creativity and personal style. Experiment with different materials, scents, and shapes to continue exploring the vast and imaginative world of candle making.