In an era dominated by digital screens and mass production, there’s a certain charm and satisfaction in creating things with your own hands. One such delightful endeavor is making homemade paper. Not only is it a creative and therapeutic activity, but it also allows you to contribute to sustainability by recycling materials and reducing your carbon footprint. Follow this step-by-step guide to embark on your journey of crafting unique, homemade paper.
Materials Needed:
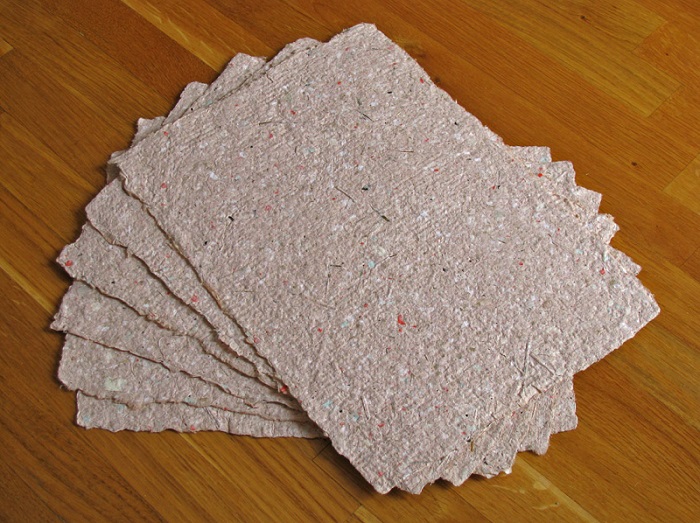
- Recycled Paper: Gather old newspapers, magazines, or scrap paper. This will be the foundation for your homemade paper, emphasizing the eco-friendly aspect of this craft.
- Large Basin or Tub: You’ll need a container large enough to immerse the paper and allow for easy mixing.
- Blender or Food Processor: For breaking down the paper into pulp. Ensure it’s dedicated to crafting to avoid using it for food afterward.
- Mold and Deckle: These are tools used to shape and drain the paper pulp. You can either purchase these or make your own with wooden frames and fine mesh.
- Water: Plenty of it for soaking and rinsing the paper pulp.
- Cloth or Sponge: For pressing and drying the paper.
- Optional: Flower Petals, Seeds, or Fabric Scraps: Enhance the aesthetics of your paper with these embellishments.
Step 1: Prepare the Paper Pulp
- Tear the recycled paper into small pieces and soak them in water for several hours or overnight.
- Transfer the soaked paper to the blender or food processor, adding enough water to cover the paper. Blend until you achieve a smooth, pulpy consistency.
Step 2: Create Your Paper-Making Station
- Fill the basin or tub with water, leaving enough room for your hands to move freely. Place the mold and deckle inside.
Step 3: Forming the Paper Sheet
- Dip the mold and deckle into the basin, ensuring the mesh is submerged in the water.
- Scoop up the paper pulp mixture with the mold, allowing excess water to drain through the mesh.
- Gently shake the mold to distribute the pulp evenly and form a consistent layer.
Step 4: Personalize Your Paper
- If you desire a touch of uniqueness, sprinkle flower petals, seeds, or fabric scraps onto the wet pulp.
Step 5: Press and Dry
- Place a cloth or sponge on top of the formed pulp to absorb excess water.
- Carefully flip the mold onto a flat surface and gently remove the deckle, leaving the wet paper on the cloth.
- Cover the paper with another cloth and press to remove more water.
- Allow your handmade paper to air-dry completely. You can speed up the process by using a hairdryer or placing it in a sunny spot.
Congratulations! You’ve just created your own homemade paper, a personalized canvas ready for your artistic touch. Experiment with different paper sources, additives, and shapes to make each batch a unique masterpiece. As you delve into the world of homemade paper making, you’ll not only discover a new hobby but also contribute to a greener, more sustainable planet.